Whether structural or functional, there are 5 ways you can stop getting these blisters from forming on the tops of your toes. 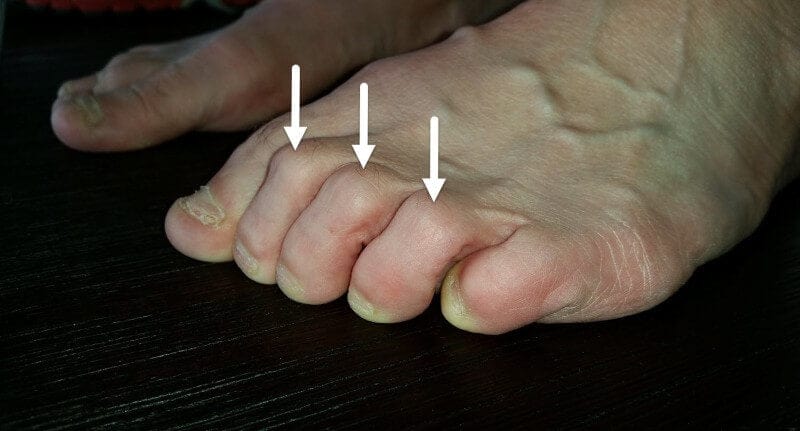
Clawed toe can lead to blisters on the tops of the toes

Top 5 methods of preventing blisters on tops of toes
1. Shoe toe box depth
Let’s talk shoe fit, specifically for these blisters:
- The depth of your toe box simply must accommodate your toes. In other words, you can’t expect to be pain-free or blister-free without this important aspect of shoe fit being met.
- Similarly, tie your laces firmly to prevent your foot from slipping forward into a shallower part of the toe box.
- Shoes with a more flexible upper in the toe box region will certainly help.
- Seams across the prominent toe joints are going to make this worse, so avoid this at all costs.
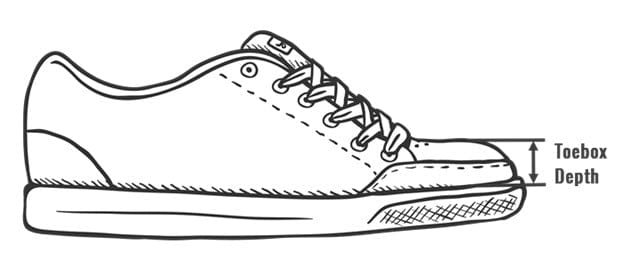
Toebox depth
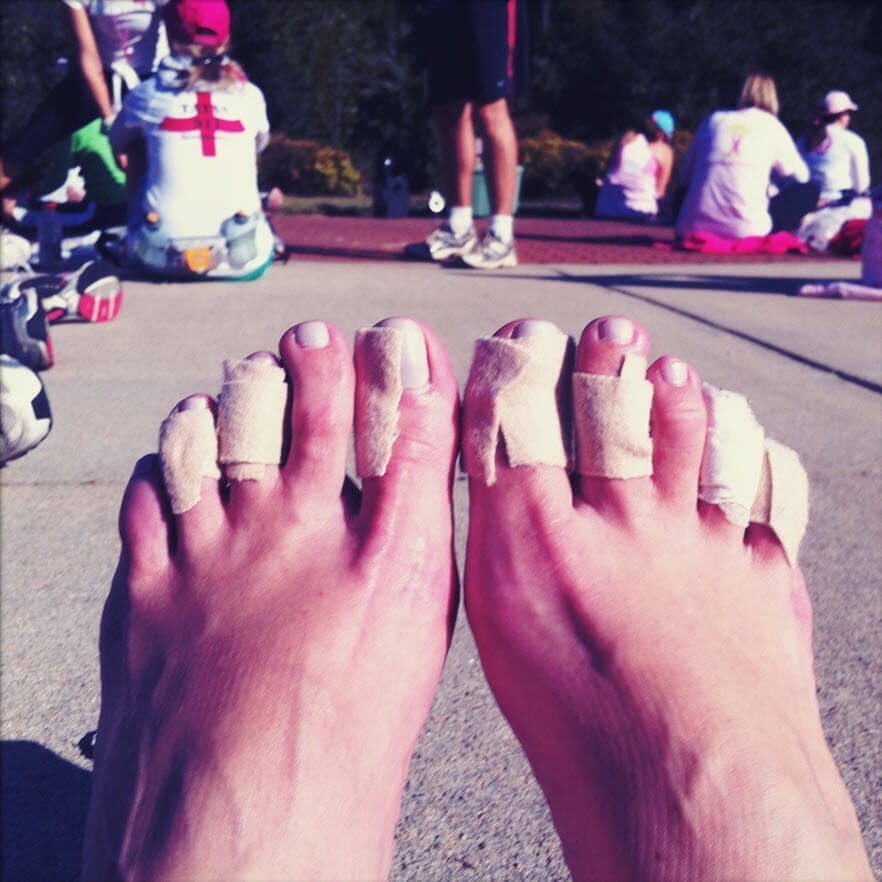
2. Taping
The skin on the top of the toes is easily abraded if it rubs against the top of the toe-box. Tape can provide a protective layer to minimise that abrasive rubbing, helping to stop abrasions and blisters. A non-stretch tape will help distribute shear load better. However, a stretchy tape is easier to apply without leaving creases. No creases is difficult at the best of times, but really important for this area. A good toe taping technique involves closing in the end of the toe. It's more likely to remain intact this way. Essentially, place one piece of tape over the toe from bottom to top. Then place another around the toe so the tape ends meet at the top of the toe.
3. Change toe posture
The toes can adopt a clawed posture for a number of reasons. If it’s a fixed deformity, you’ll need to hope that the other options explained here do the trick. Otherwise, your only option might be to have the toes surgically straightened. If your toes can straighten, a podiatrist may be able to do something to encourage your toes to maintain this straighter posture. This could involve orthotics, stretches, toe devices or other treatments. Toe props can be used to take up the space under the toes and prevent them bending over so much. While the toe prop is in place, the toes will sit straighter, making the joints on top less prominent. Athletes should experiment with these to ensure the material between the toes doesn’t irritate. This is particularly important in over long distances and endurance situtions.
Off-the-shelf toe prop (elastic over the toe to hold it in place).

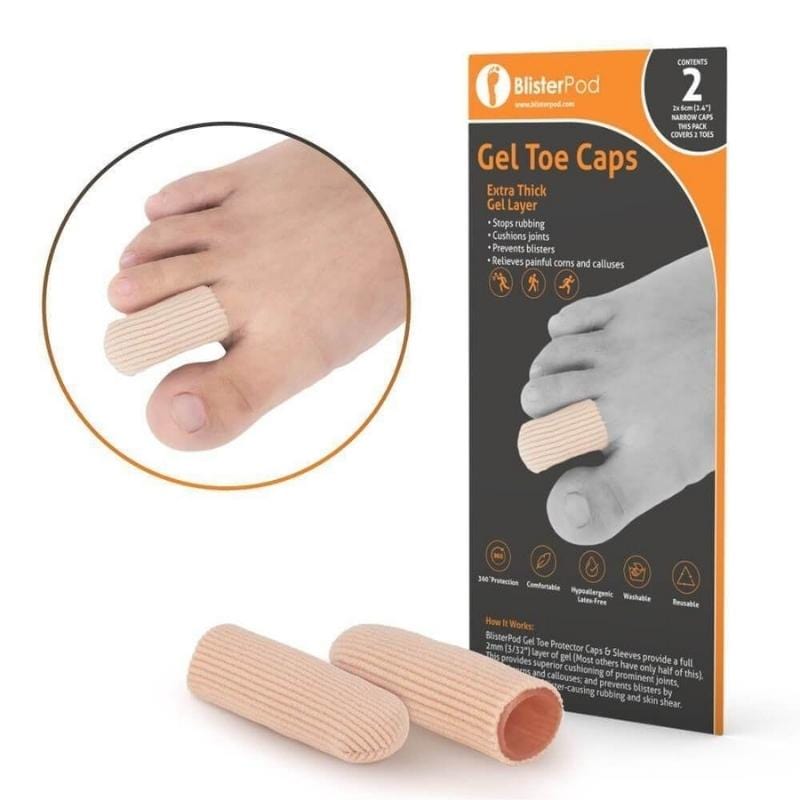
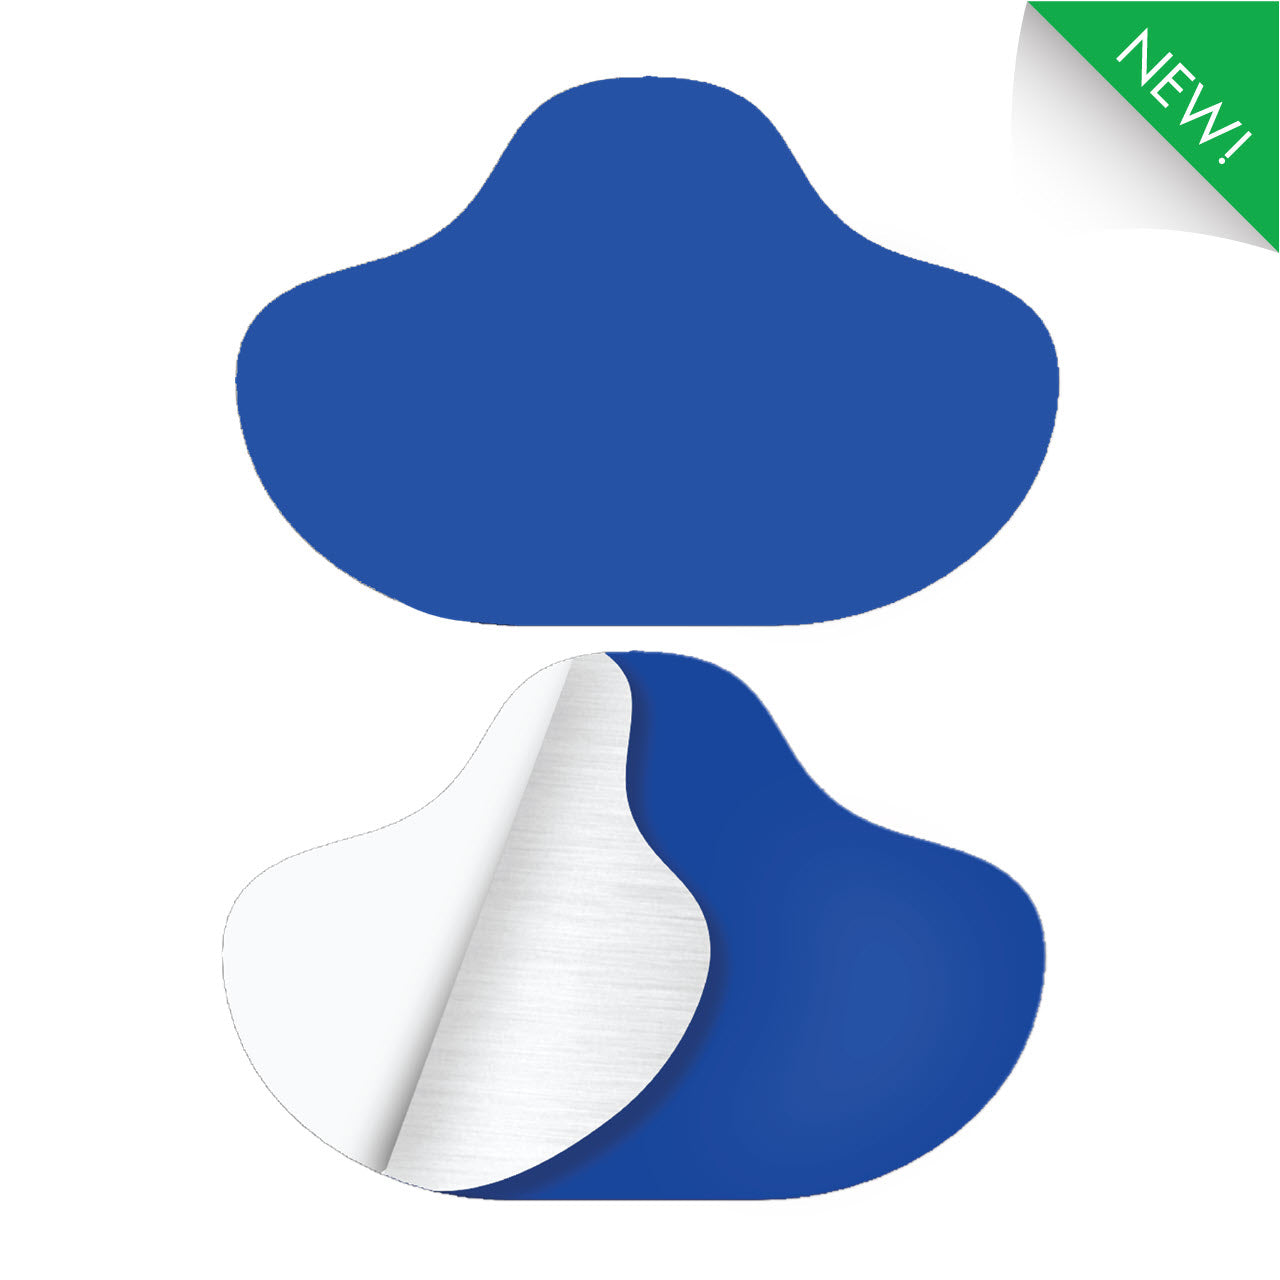
4. Gel toe protector (sleeve or cap)
A gel toe cover will both cushion the prominent joints, and absorb a large amount of the shear that causes blisters. These devices are a little bulky. So it can get tricky if you need protection for two or more toes on the same foot. There might not be enough room in your toe box to accommodate them all. Whether you choose a gel toe sleeve (open at the end) or cap (closed in at the end) is up to you. Considering your blister is on the top of the toe, the open-ended sleeve should suffice. Like the one pictured below. Being open at both ends will have the added advantage that sweat can escape from both ends. This minimising the chance of skin maceration. But if your toe is bent over and you’d also like to protect the tip of the toe, consider a closed-in cap.
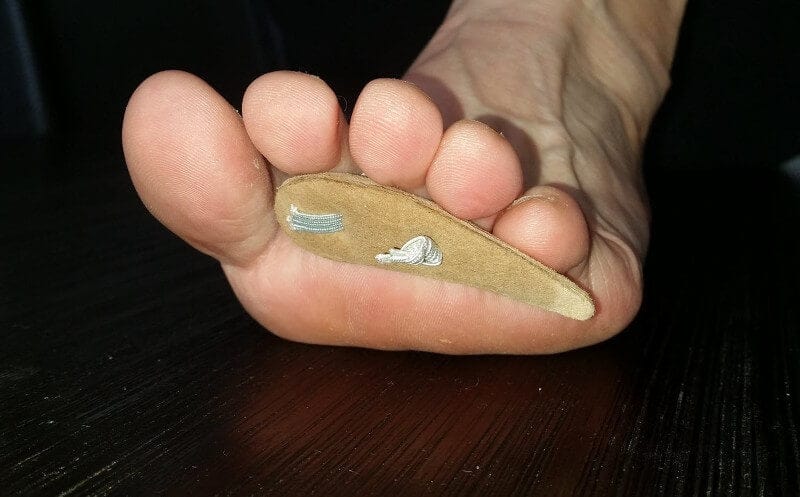
5. ENGO Blister Patch
When gel toe protectors are not an option, an ENGO patch is a great alternative. Applied to the inside of the toe box, it's an excellent way to reduce friction levels. Especially if you’ve done everything you can with shoe fit and the posture of your toes. An ENGO Patch takes up next to no room in your shoe (0.38mm). However, remember that if your shoe upper is permeable to water, the patch could dislodge if it gets too wet.
Bonus Tip
If you know your calf muscles are tight, get stretching. Because when these muscles at the back of your lower leg are tight, the muscles at the front of the lower leg have to work overtime. Two of these muscles at the front of the leg insert into the tops of the toes. When they activate, they pull the toes up. So you don't want these muscles working when they should be resting or your toes will be pulled up and rub against the top of your shoe.
Calf stretches take a while to kick in, so get started now. But make sure you're doing it correctly, because I see a lot of people doing it wrong and wasting their time. Technique is everything. Here's how to stretch your calf properly.
Conclusion
Number 1 is a must. You'd be silly not to try number 2, but don't be too surprised if it doesn't help enough. Simply move on to number 3 or 4. Both can work fantastically, I highly recommend them. But don't use both at the same time, it's one or the other. Leave number 5 up your sleeve in case there's some reason you can't use the others. And the bonus tip is one you should definitely make a start on now if you know you're tight.
Want To Get Started With Gel Toe Sleeves Now?
Get double the cushioning and shear absorption with BlisterPod Gel Toe Sleeves.